DIY Hair Bleaching at Home
DIY Hair Bleaching at Home can save time and money compared to going to the salon. However, lightening hair with bleach is very technique-driven to avoid damage. With the right methods, preparation, and care, you can successfully achieve beautiful lighter locks from the comfort of your home. Follow this complete guide to DIY bleaching hair safely.
Determine Your Hair’s Baseline Condition
- Examine the current health, texture, porosity, and elasticity of your hair.
- Bleached hair requires extra moisture and strength.
- Very weak, brittle hair may not tolerate lightening.
- Discuss any concerns with a stylist first before deciding to bleach.
Assess if hair is in suitable shape for chemical processing.
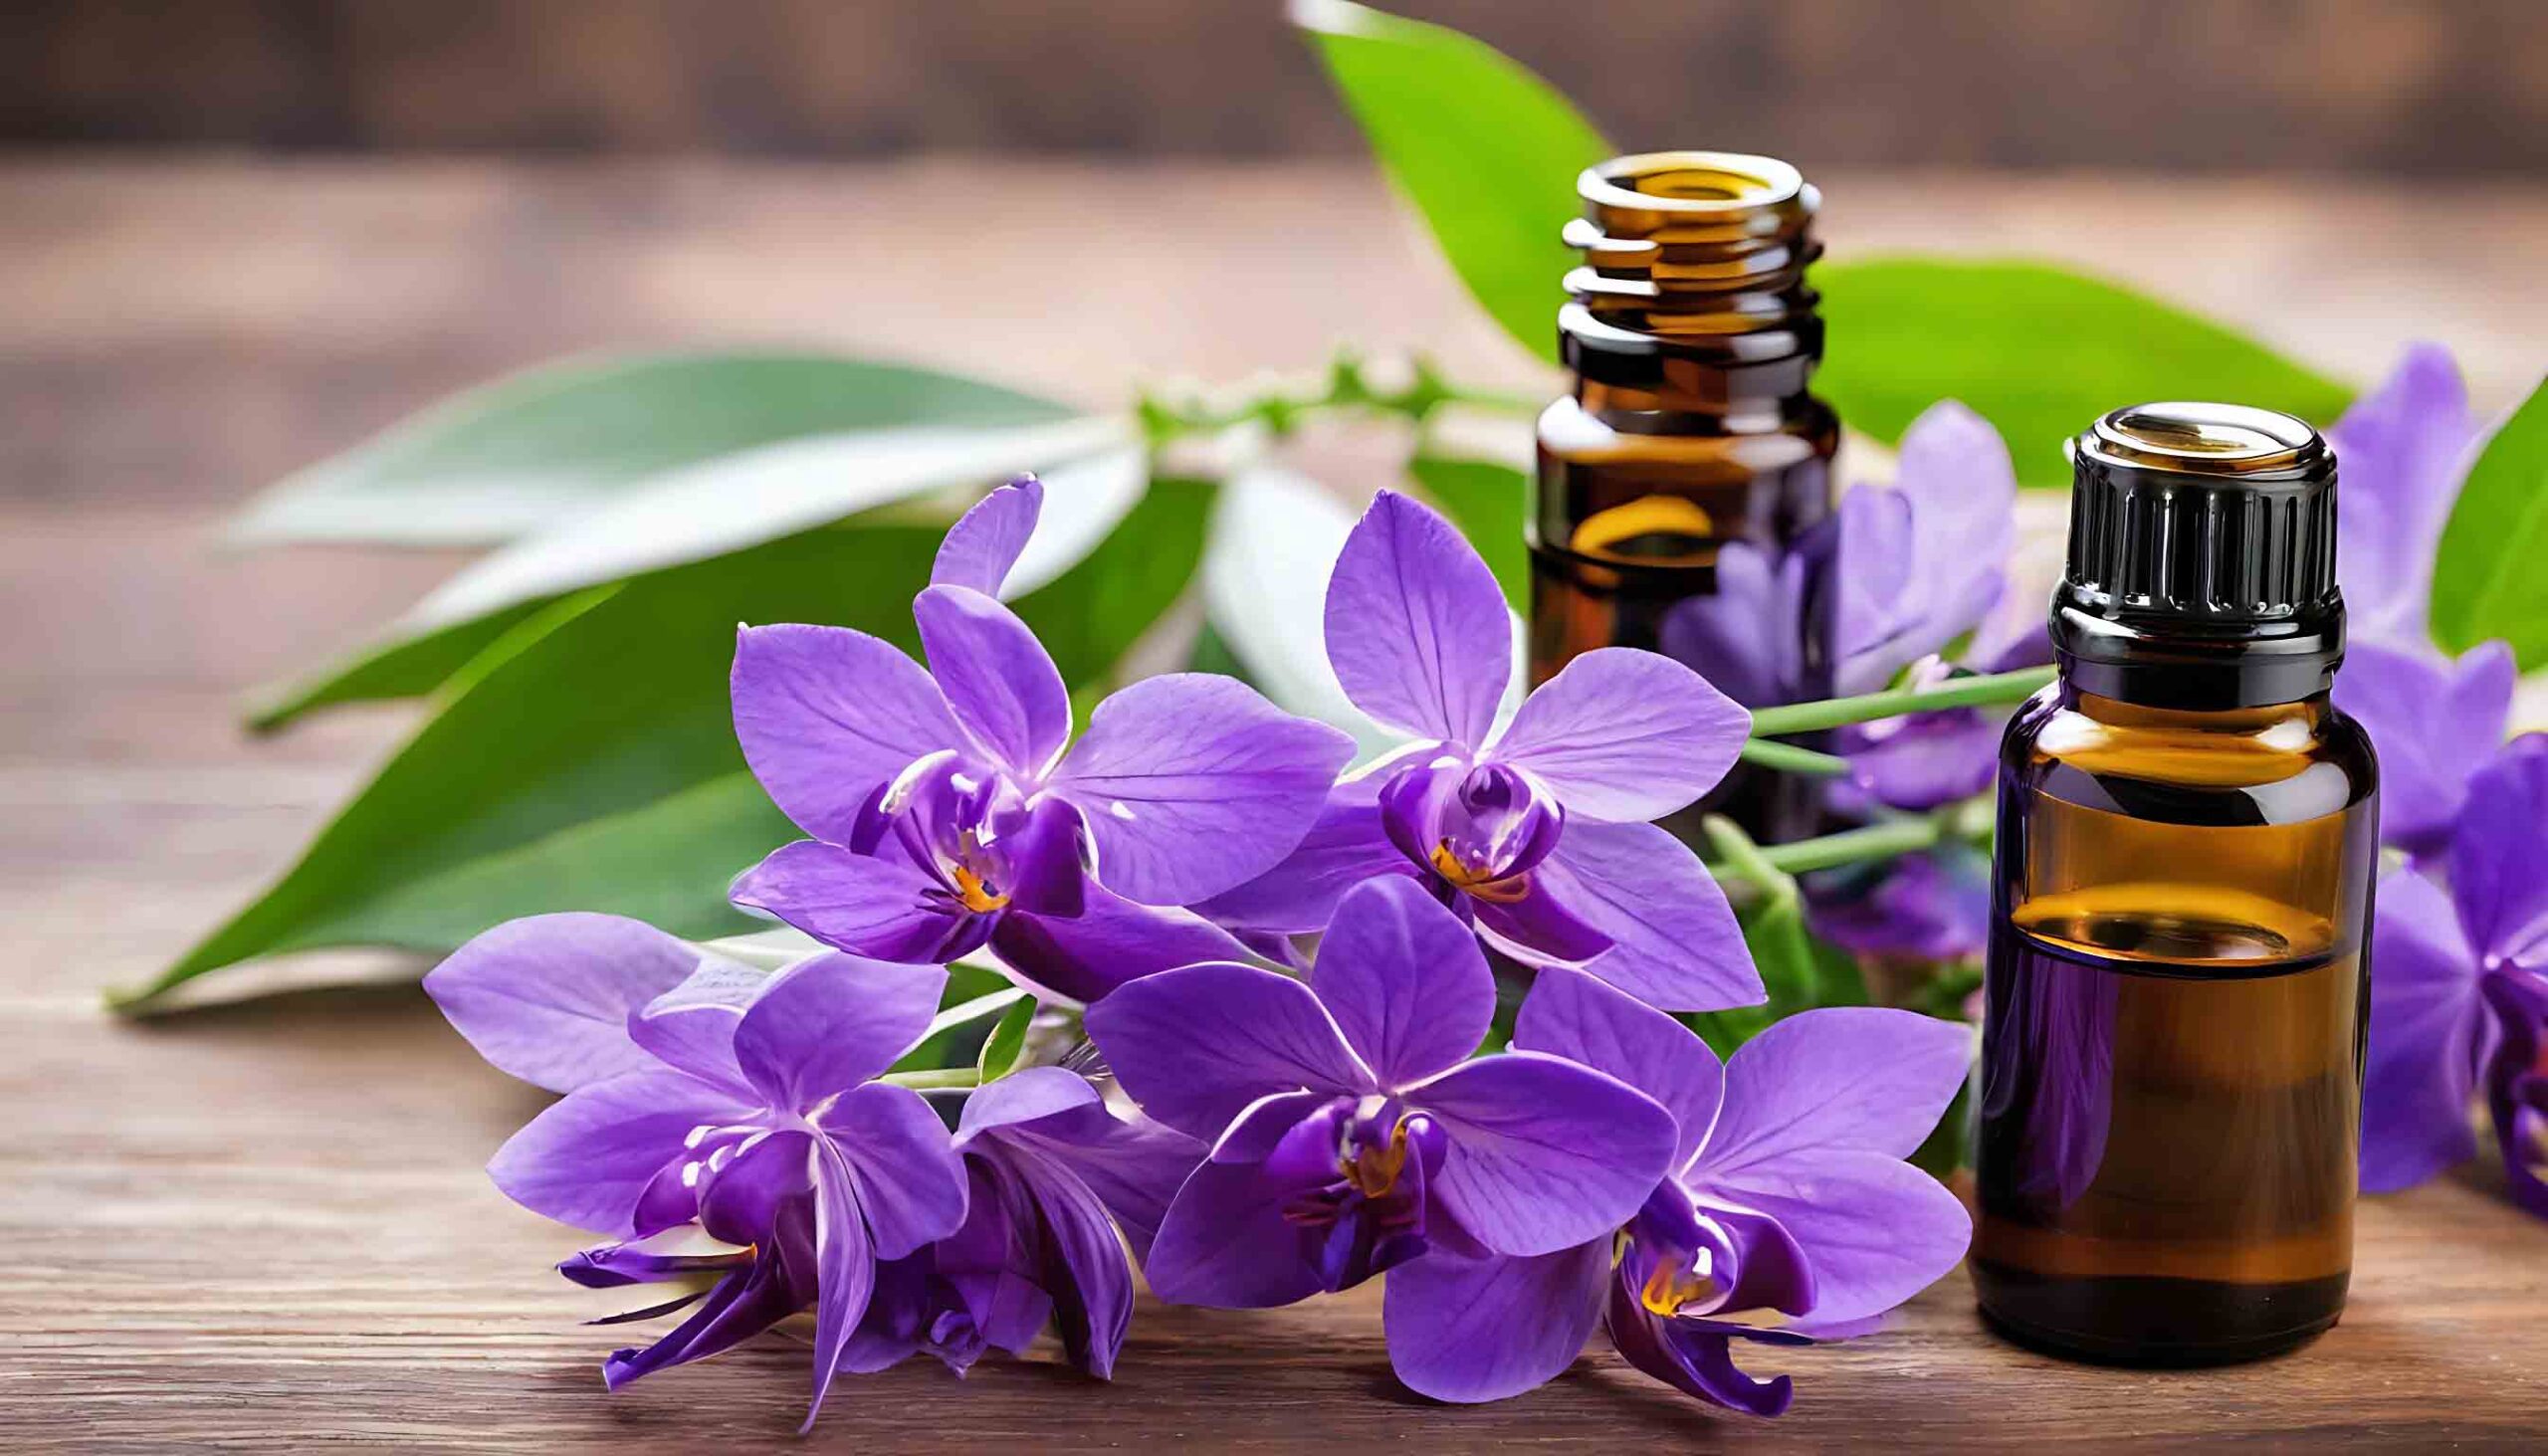
Gather the Right Bleach Supplies
- Quality salon bleach kit or lightener brand designed for home use
- Purple-toned formula for cool tones
- Developer no higher than 30 volume
- Bleach brush and bowl for mixing
- Clarifying shampoo to prep hair
- Toner in desired finished shade
- Reconstructing mask or treatment
Having all the right products leads to best results.
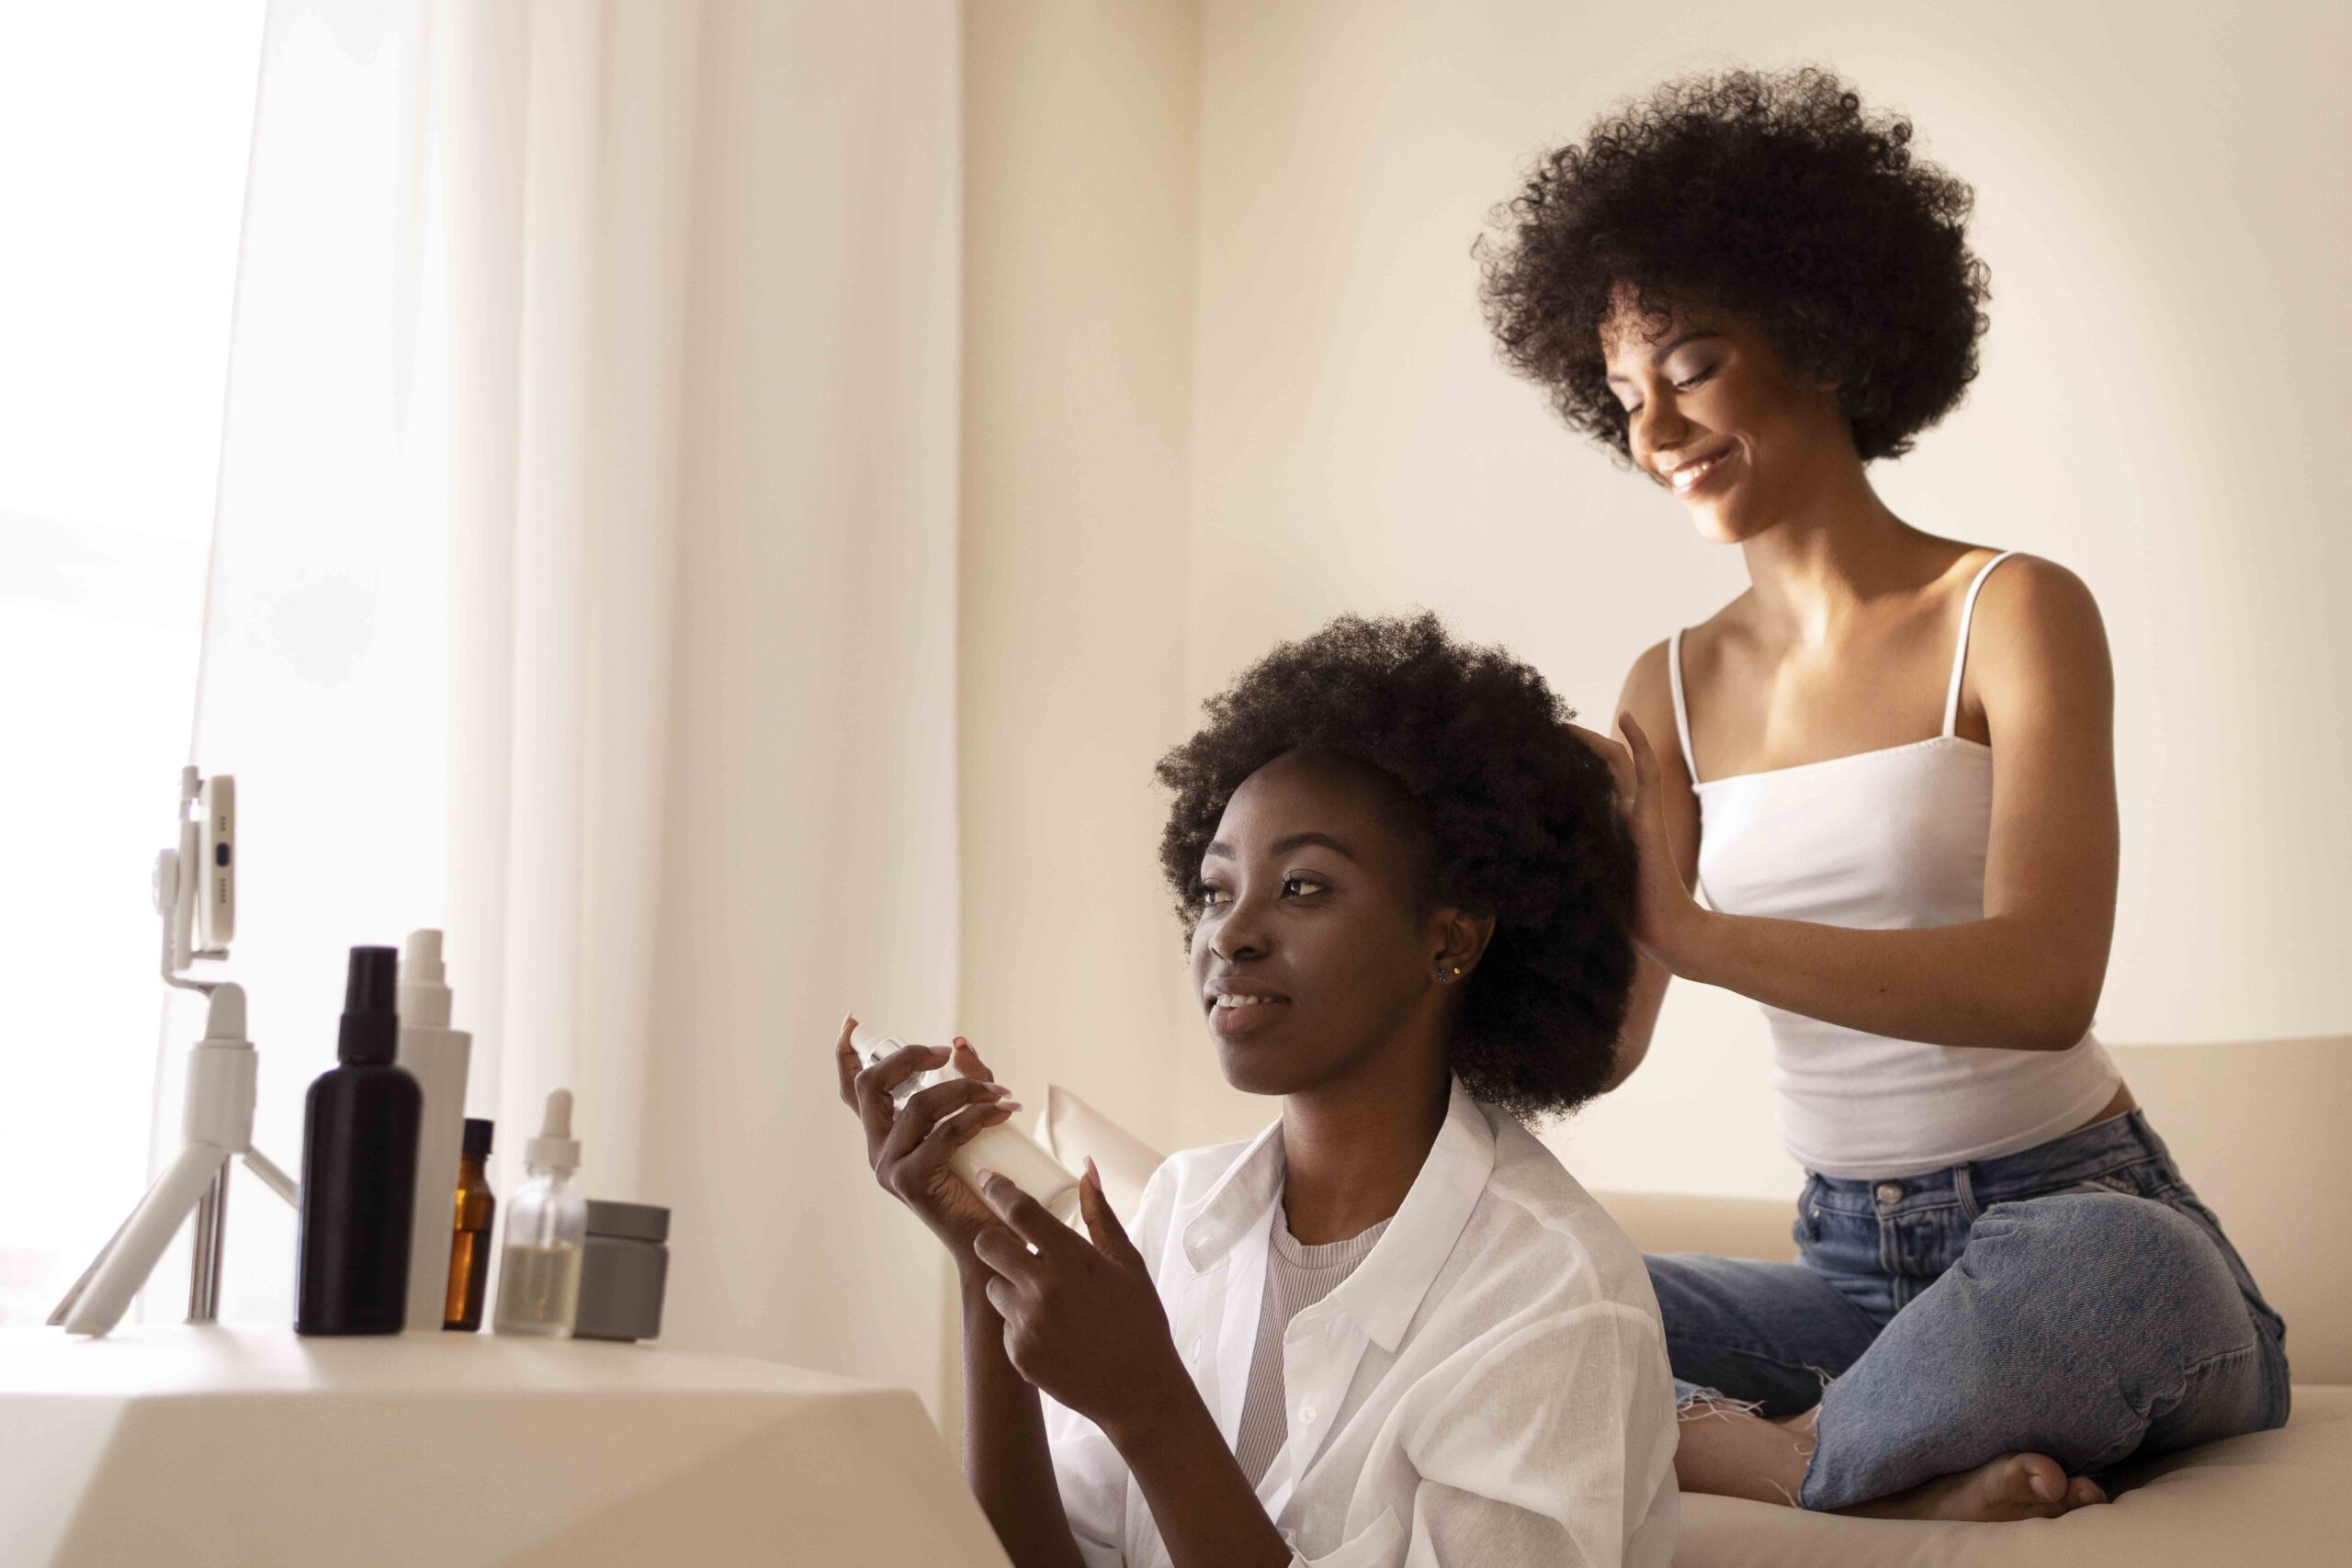
Prepare Hair Before Bleaching
- Clarify hair with a deep cleansing shampoo to remove product buildup.
- Allow hair to air dry fully until completely dry to touch. Bleach only adheres to dry hair.
- Detangle thoroughly using a pre-bleach conditioning treatment.
- Section hair cleanly into 4 quadrants and clip up top layers.
Proper prep prevents splotchy bleaching and minimizes damage.
Mix Bleach and Developer According to Instructions
- Carefully measure out bleach powder or cream.
- Mix with developer at the exact ratio stated on packaging.
- Mix to a smooth, runny but not watery consistency.
- Use immediately once mixed; do not let sit.
Proper mixing leads to consistent, even lightening.
Apply Petroleum Jelly Barrier to Skin
- Apply petroleum jelly along hairline, neck and ears.
- This prevents skin irritation and burning from bleach.
- Wear latex gloves during application to protect hands.
Guarding skin avoids painful chemical burns.
Section Hair and Apply Lightener
- Work in 1⁄4 inch subsections across the back of head first.
- Use tint brush to thoroughly saturate each section of hair with bleach.
- Cover every strand to prevent splotches or hot roots.
Careful application gives even, consistent results.
Process and Check Strand Tests
- After applying to all sections, process for up to 45 minutes maximum.
- Check strand tests every 10 minutes.
- Rinse once desired level of lift is reached.
- Do not leave on longer than product directions state.
Frequent strand testing prevents damage from overprocessing.
Rinse Thoroughly and Tone
- Rinse hair very thoroughly until water runs clear.
- Apply toner immediately and process according to toner directions.
- Rinse again until water is clear.
This removes all bleach residue and seals in your color.
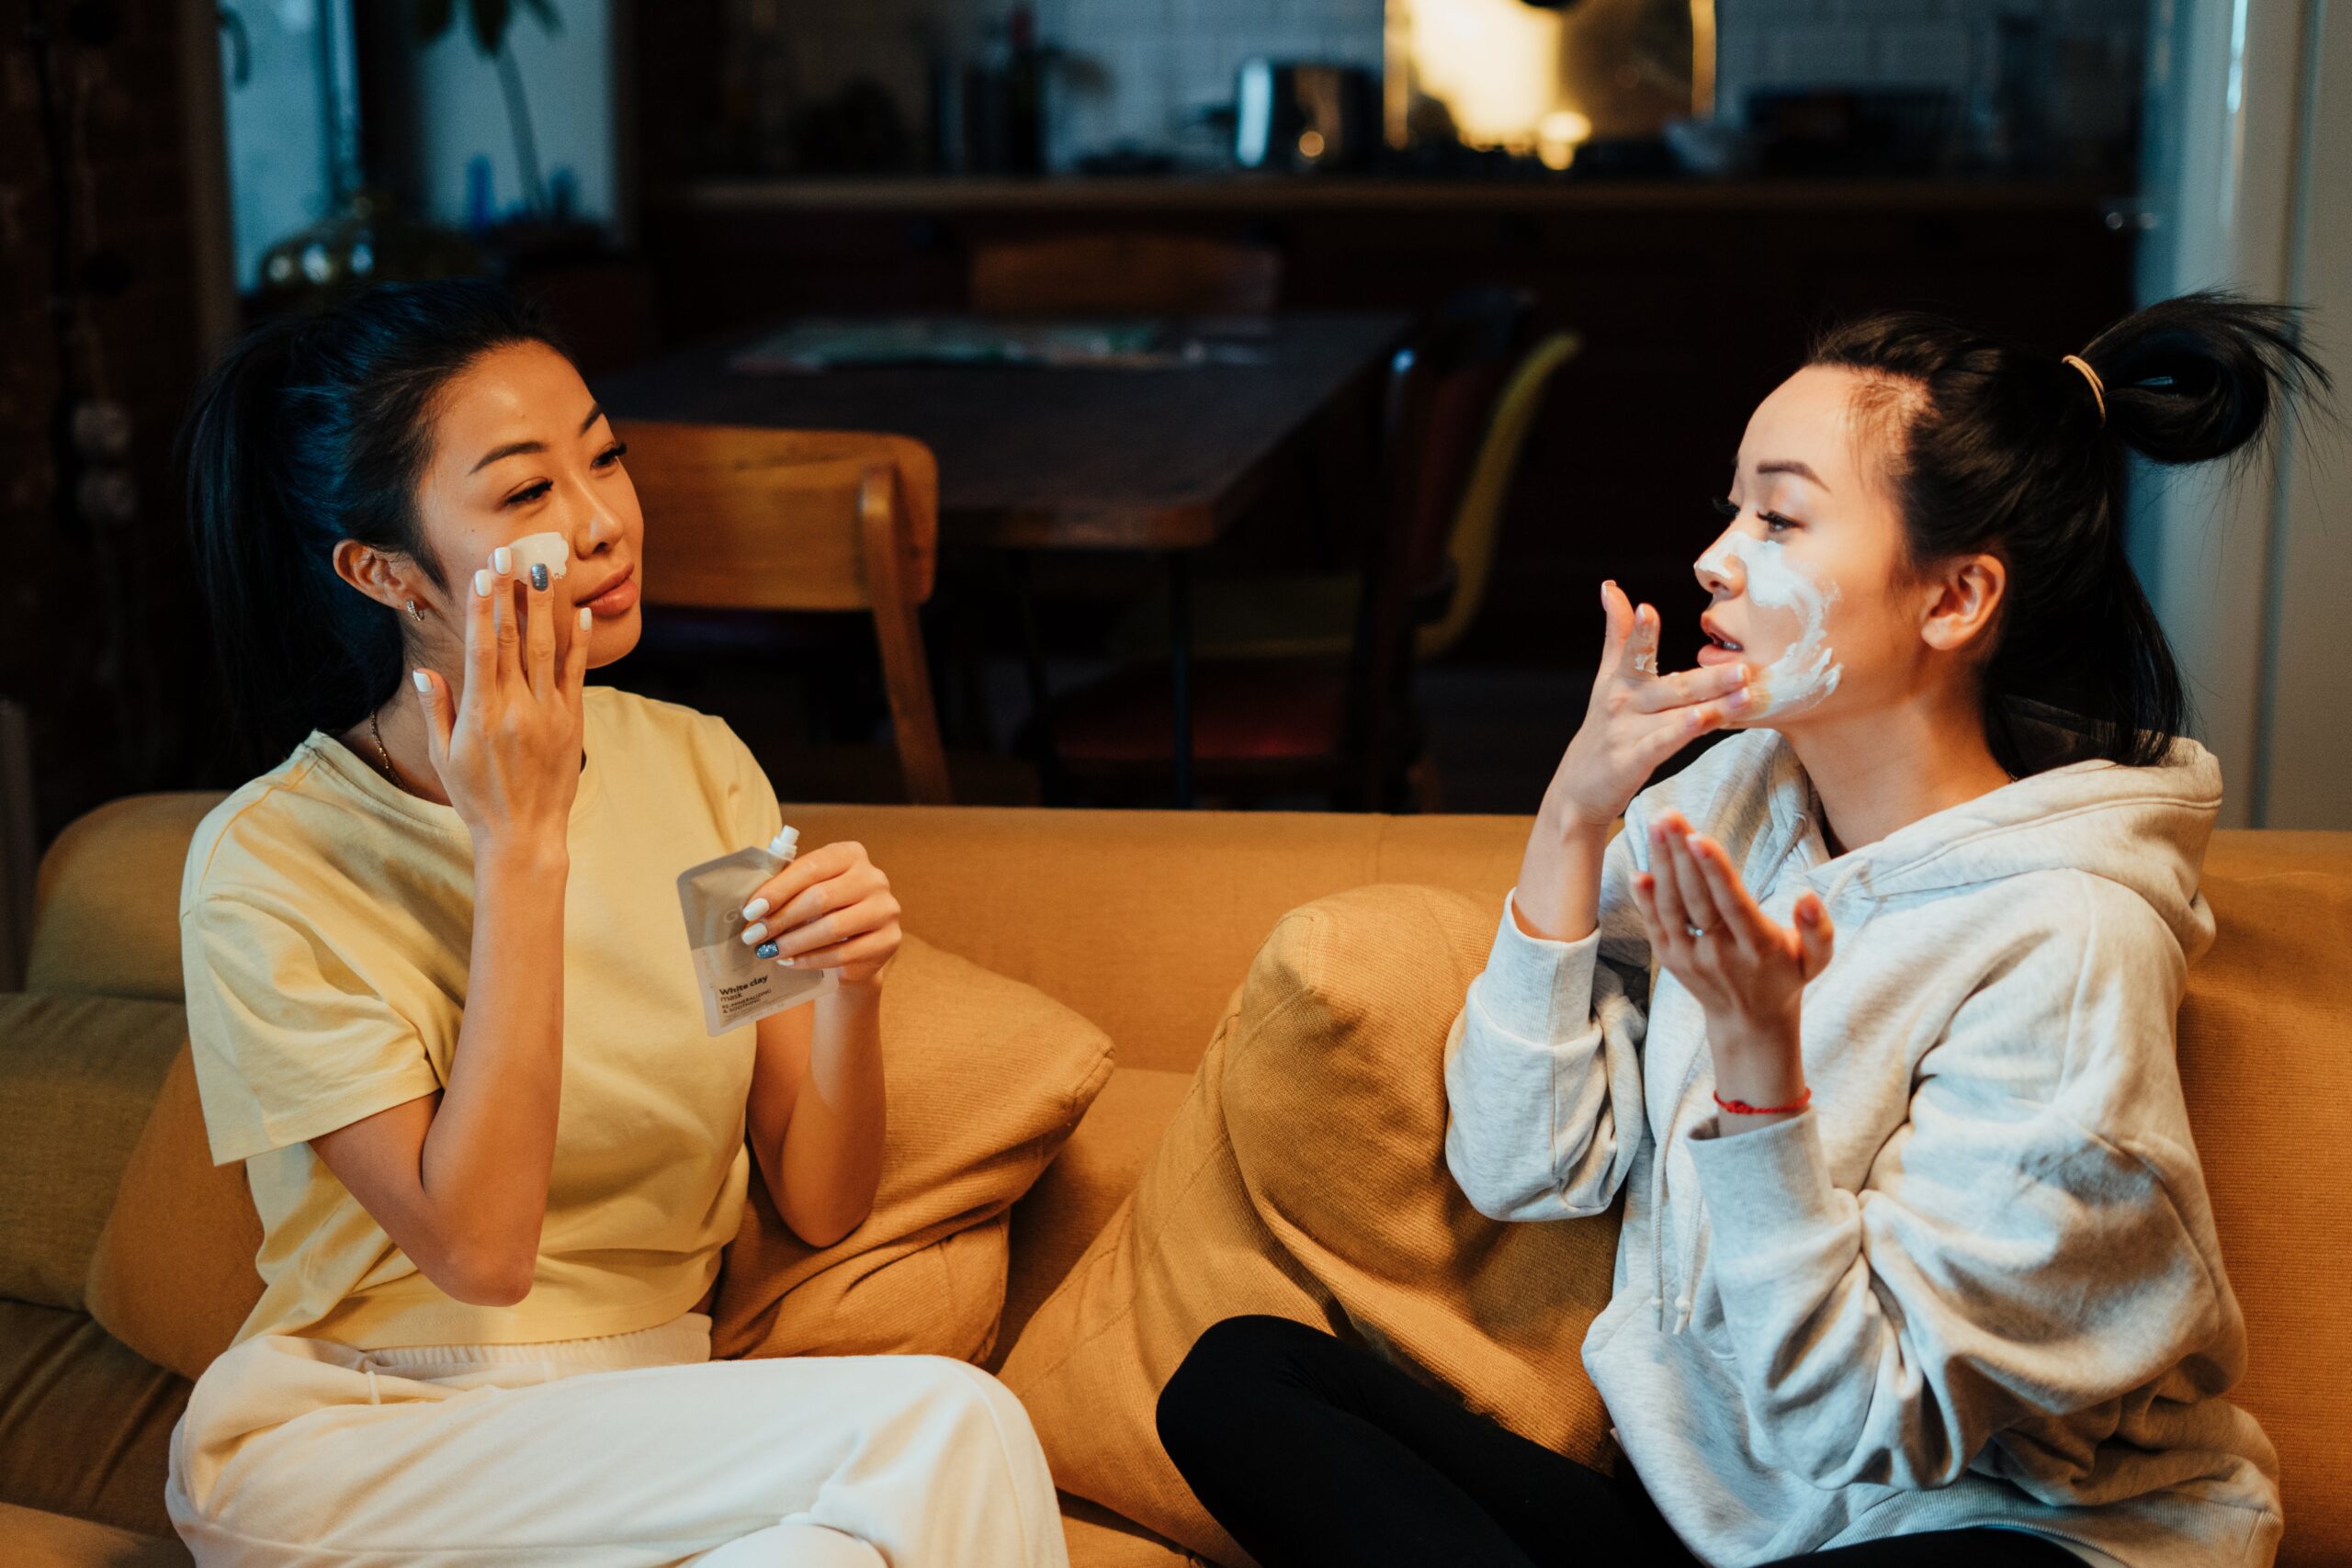
Deep Condition and Hydrate
- Apply a hydrating mask or bond building treatment. Allow to penetrate for 5-10 minutes before rinsing.
- Pat dry gently with a towel. Avoid rubbing wet hair.
- Let air dry fully to avoid heat damage to lightened hair.
Proper post-bleach conditioning prevents dryness and breakage.
Maintain COLOR and Protect Between Sessions
- Use a color-depositing conditioning mask weekly. Purple masks help prevent brassiness.
- Shampoo less frequently, only 1-2 times per week. Use dry shampoo to absorb oil.
- Apply heat protectant before using any hot tools. Avoid going above 300°F.
- Get a trim every 6-8 weeks to prevent splits and breakage on lightened ends.
Proper maintenance preserves your new lighter color.
Wait Proper Time Between Bleaching Sessions
- Never bleach hair two days in a row. Space sessions 4-6 weeks apart.
- Time allows hair to replenish moisture and strength needed to tolerate lightener again.
- Bleaching too soon destroys hair integrity and risks chemical cuts.
Adequate healing time prevents overlapping damage.
Adjust Process for Regrowth Touch Ups
- As roots grow in, apply lightener just to regrowth avoiding previously lightened lengths.
- Process roots for less time since scalp heat speeds up lightening.
- Use lower volume developer and perform strand tests.
This prevents damage from DIY Hair Bleaching at Home already processed sections repeatedly.
Frequently Asked Questions About DIY Hair Bleaching at Home
Should you bleach hair wet or dry at home?
Only apply DIY bleach to clean, fully dried hair – dampness interferes with bleaching results. Blow dry if needed, but avoid heat styling for a few days before lightening.
Is it bad to mix different types of bleach?
Do not mix bleach powder or cream from different brands or formulas. Use developer and lightener from the same system only for proper chemical reactions.
Can you re-bleach hair same day at home?
No, never bleach hair two days in a row at home. Too much chemical processing at once destroys hair. Wait 4-6 weeks between DIY sessions for hair to recover.
How often can you bleach your hair safely at home?
Limit DIY bleaching sessions to once every 4-6 weeks at home. Any more frequently causes overlap damage from overprocessing. Bleach no more than 2-3 times total per year.
Does toner stop damage from bleaching hair?
Toner can help seal the cuticle after bleaching. But it does not repair damage already done beneath the surface. Use Olaplex and conditioning treatments too.
Is 20 developer or 30 better for DIY bleaching?
For at home bleaching, 20 volume developer is gentler and safer to start. 30 volume lifts more in one session but also risks more damage.
Can you bleach over box dye at home?
Bleaching over box dye can be unpredictable as the pigments may lift unevenly. Use a color remover first, or consult a pro to strip color before bleaching.
Should you shampoo before or after bleaching at home?
Shampoo hair the day before lightening, but not right before. Bleach sticks best to clean but completely dry strands. Shampoo again after rinsing out lightener.
Where do you apply bleach first at home?
Apply lightener first to the back sections of hair, then work up towards the front and sides. Process roots last since scalp heat speeds up lift.
Can you use purple shampoo the same day as bleaching?
No, wait 2-3 days after bleaching to use purple shampoo. It may deposit unevenly if used right after lightening since the cuticle is still open.
Conclusion
DIY Hair Bleaching at Home can save time and money with beautiful results when done carefully. Being mindful of your hair’s current condition, using the proper products and techniques, and taking precautions against damage enables successful DIY Hair Bleaching at Home. With adequate preparation, processing, and post-bleach care, you can achieve stunning lifted color results safely from home.